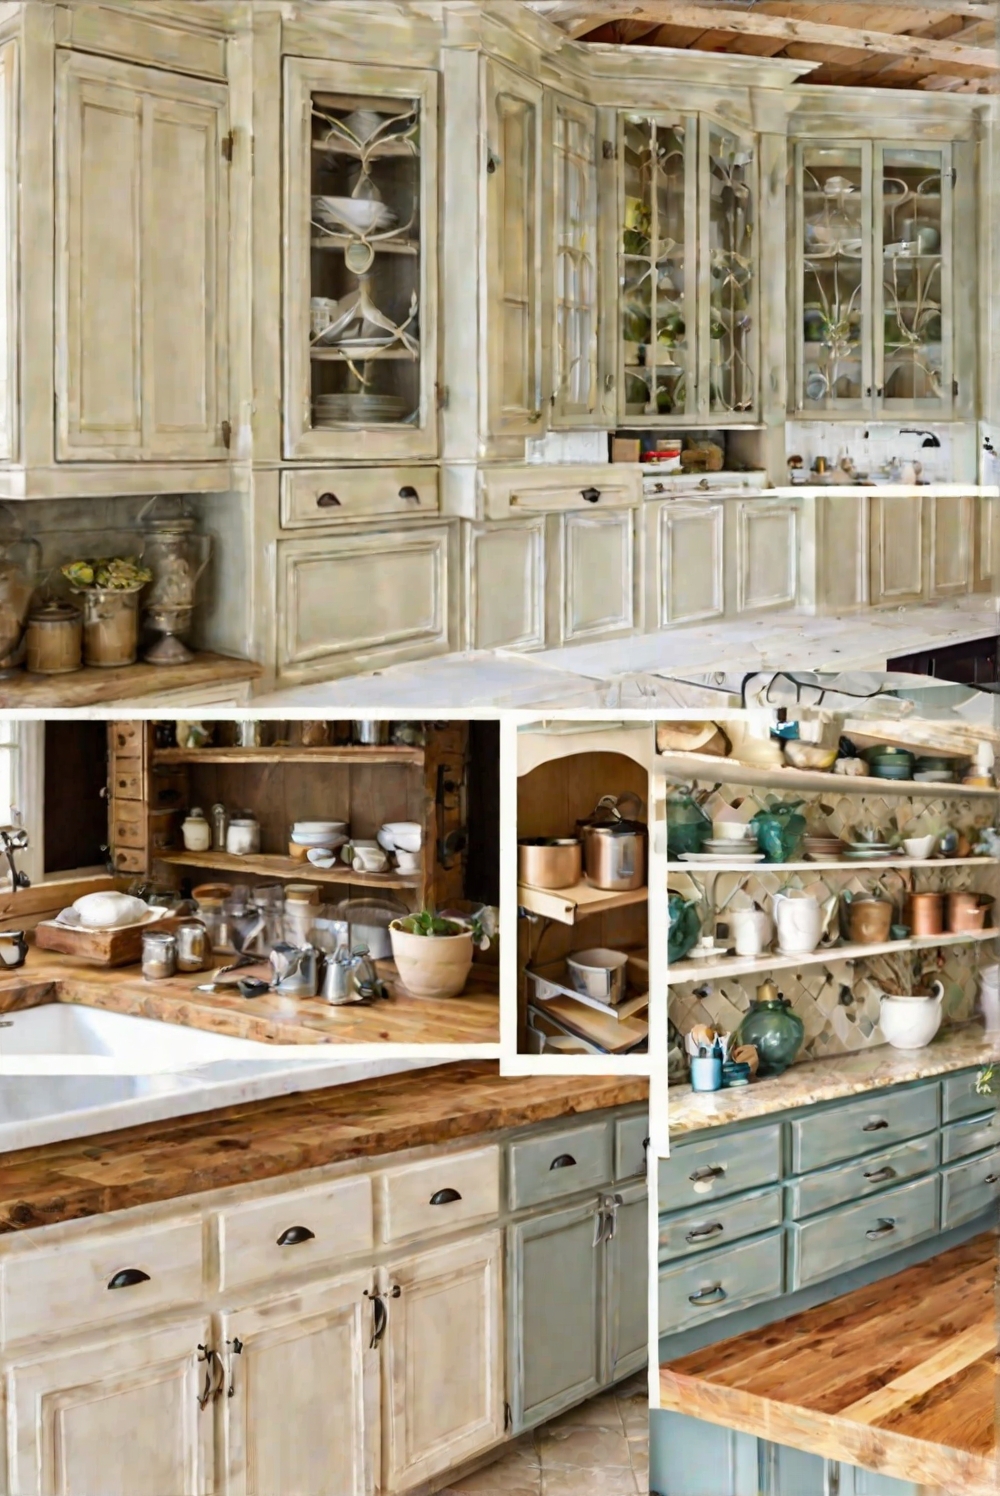
Are you ready to transform your kitchen cabinets with these 5 easy painting ideas? Follow our step-by-step guide for a budget-friendly and stunning upgrade.
Painting kitchen cabinets can be a cost-effective way to upgrade the look of your kitchen. Here are 5 ideas for painting kitchen cabinets:
1. Choose the right paint: Opt for a high-quality, durable paint specifically designed for cabinets to ensure a long-lasting finish.
2. Clean and prep the cabinets: Thoroughly clean the cabinets and remove any grease or grime before painting. Sanding and priming may also be necessary for better adhesion.
3. Use a suitable technique: Brushing, rolling, or spraying are common techniques for painting cabinets. Choose the method that works best for your skill level and budget.
4. Add a personal touch: Consider adding decorative elements like stencils or new hardware to personalize the cabinets and enhance the overall look.
5. Follow a step-by-step process: Start by removing cabinet doors and hardware, then apply primer, paint, and a topcoat following manufacturer instructions for best results.
If you’re looking to refresh your kitchen without breaking the bank, painting your cabinets is a great way to achieve a new look. Here are five ideas for painting kitchen cabinets the easiest way, step by step:
Prepping the kitchen cabinets before painting is crucial to ensure a smooth finish. Start by removing all hardware, including hinges and handles. Clean the cabinets thoroughly with a degreaser to remove any built-up grime. Lightly sand the surfaces to roughen them up for better paint adhesion.
When choosing the type of paint for kitchen cabinets, opt for a durable finish like a semi-gloss or high-gloss paint. These finishes are easy to clean and resistant to moisture, making them ideal for kitchen use. Consider using a paint specifically designed for cabinets for the best results.
Yes, you can paint kitchen cabinets without sanding, but proper prep work is essential. Instead of sanding, you can use a deglosser to remove the glossy finish and create a surface that the paint can adhere to. This method saves time and effort while still achieving a professional-looking result.
There are several benefits to painting kitchen cabinets. Not only does it give your kitchen a fresh, updated look, but it is also a cost-effective way to revamp your space. Painting cabinets allows you to customize the color to match your decor and style preferences, giving you a unique and personalized kitchen.
To ensure a smooth finish when painting kitchen cabinets, use high-quality paint and tools. Start with a good primer to create a smooth base for the paint to adhere to. Use a high-quality brush or paint sprayer for even coverage. Allow each coat to dry thoroughly before applying the next to prevent drips and streaks.
To prevent chipping or peeling after painting kitchen cabinets, follow these steps: properly prep the surfaces, use the right paint and primer, apply multiple thin coats for better adhesion, and let the paint cure fully before reinstalling hardware. Consider adding a clear topcoat for added protection against wear and tear.
Choosing the right color for your kitchen cabinet painting project can be a fun but challenging task. Consider the overall style of your kitchen, the color of your appliances and countertops, and your personal preference. Neutral colors like white, gray, or beige are timeless choices that can complement any decor style. If you’re feeling bold, you can opt for a pop of color to add personality and interest to your kitchen.
In conclusion, painting kitchen cabinets is a budget-friendly way to transform your space. By following these five ideas and steps, you can easily refresh your kitchen and give it a fresh new look. Remember to prep the cabinets properly, choose the right paint and color, and take your time to achieve a smooth and durable finish that will last for years to come.

