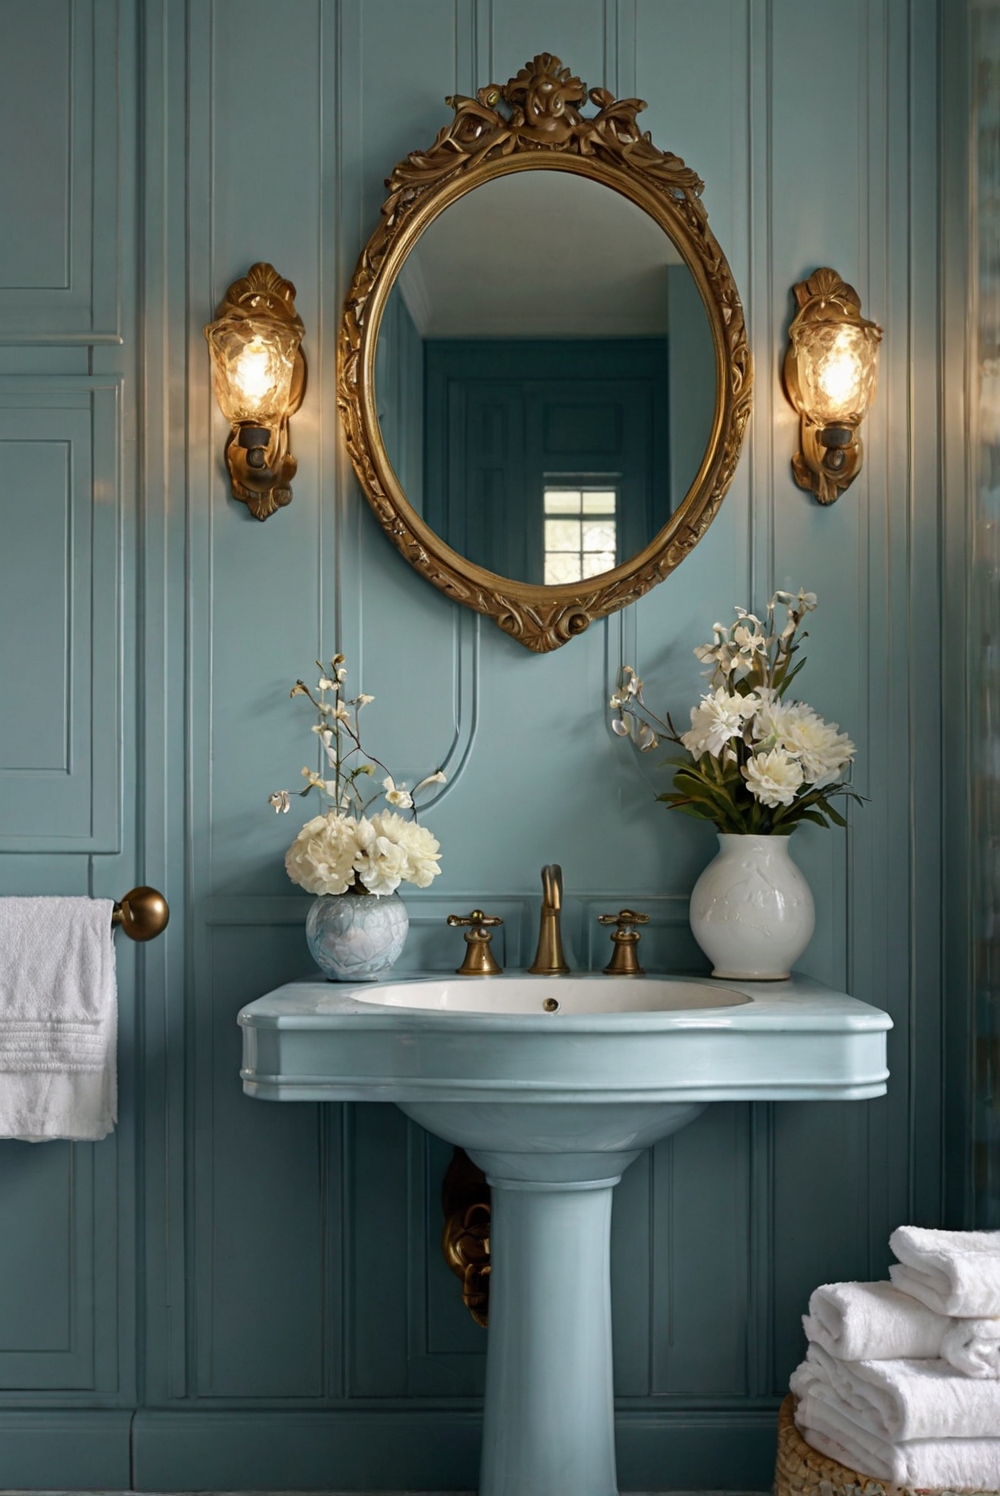
Refresh your bathroom space with a DIY project! Learn how to update your cabinetry by painting your bathroom cabinets for a fresh new look.
**How to Paint Your Bathroom Cabinets for a Fresh Look (Update Your Cabinetry)**
**Answer:**
To update your bathroom cabinets with a fresh look, follow these steps:
1. **Prepare the Cabinets:** Remove all hardware and clean the cabinets thoroughly to ensure proper adhesion of the paint.
2. **Sand the Cabinets:** Lightly sand the cabinets to roughen the surface for better paint adherence.
3. **Prime the Surfaces:** Apply a coat of primer to help the paint adhere and provide a smooth finish.
4. **Paint the Cabinets:** Use a high-quality paint suitable for cabinets and apply several thin coats for a professional look.
5. **Let the Cabinets Dry:** Allow the cabinets to dry completely before reattaching hardware and using them for best results.
By painting your bathroom cabinets, you can give your space a fresh update without the cost of replacing the cabinets entirely.
If you are looking to give your bathroom a fresh new look without breaking the bank, painting your bathroom cabinets can be a cost-effective and stylish solution. In this comprehensive guide, we will walk you through the steps to properly prepare your bathroom cabinets for painting, the best type of paint to use, whether you can skip sanding, potential risks involved, the benefits of repainting over replacing, tips for a professional finish, and the importance of proper ventilation during the painting process.
When it comes to painting your bathroom cabinets, preparation is key to achieving a flawless finish that will stand the test of time. Here are the essential steps to prepare your cabinets:
Start by removing all hardware, such as handles and hinges, from the cabinets. This will allow you to paint the entire surface evenly and prevent any drips or smudges.
Clean the cabinets thoroughly using a mild detergent and water to remove dirt, grease, and grime. Make sure to dry the cabinets completely before moving on to the next step.
If your cabinets have a glossy finish or are made of laminate, it is recommended to lightly sand the surface to create a rough texture that will help the paint adhere better. Use a fine-grit sandpaper and sand in the direction of the wood grain to avoid scratches.
After sanding, wipe down the cabinets with a tack cloth to remove any dust particles and ensure a smooth painting surface.
Now that your cabinets are prepped and ready, it’s time to choose the right paint for the job. When selecting paint for bathroom cabinets, opt for a high-quality, durable paint that is designed for high-moisture areas. Acrylic latex paint is a popular choice for its durability and water resistance.
While sanding your cabinets before painting is recommended to ensure proper adhesion, there are some products on the market that claim to allow you to skip this step. However, keep in mind that sanding helps the paint adhere better and provides a smoother finish, so it is generally advisable to sand before painting for the best results.
As with any DIY project, there are some risks involved in painting your bathroom cabinets yourself. One common risk is not properly preparing the cabinets, which can result in peeling or chipping paint over time. Additionally, using the wrong type of paint or skipping important steps like priming can lead to a less-than-professional finish.
Repainting your bathroom cabinets instead of replacing them offers several benefits. Not only is repainting more budget-friendly than replacing cabinets, but it also allows you to customize the look of your cabinets to match your decor style. Additionally, repainting can extend the life of your cabinets and give them a fresh, updated appearance without the cost and hassle of a full replacement.
To ensure a smooth and professional finish when painting your bathroom cabinets, follow these tips:
– Use a high-quality paintbrush or foam roller to apply the paint evenly and smoothly.
– Work in thin, even coats to prevent drips and ensure proper coverage.
– Allow each coat of paint to dry completely before applying the next coat.
– Consider using a paint sprayer for a professional finish, especially if you have intricate cabinet details.
– Seal the painted cabinets with a clear topcoat for added durability and protection against moisture.
Proper ventilation is crucial when painting your bathroom cabinets to avoid inhaling harmful fumes from paint products. Make sure to open windows and doors in the bathroom and use a fan to circulate air during the painting process. If possible, wear a mask to protect your lungs from paint fumes and ensure adequate ventilation in the room.
In conclusion, painting your bathroom cabinets can be a rewarding DIY project that gives your bathroom a fresh new look without the cost of a full renovation. By properly preparing your cabinets, choosing the right paint, following best practices for painting, and ensuring proper ventilation, you can achieve a professional finish that will transform your bathroom cabinetry. So grab your paintbrush and get ready to update your bathroom cabinets for a stylish and budget-friendly makeover.

